Configuring Internet Explorer 10&11 for Server Based Computing
There are just a couple of basic settings that need to be made to enable your browser to successfully connect and run applications on the SBCS system.
1. Add https://access2.ca.gov to your Trusted Sites.
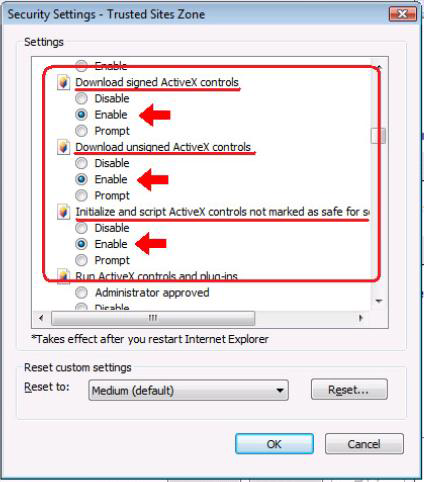
2. Configure the Custom level for Trusted Sites to Enable:
a. Download signed ActiveX controls.
b. Download unsigned ActiveX controls.
These settings only affect your Trusted Sites. All other sites retain the settings you have configured for them.
The following instructions will take you step by step through the process.
The first step is to open your browser and navigate to the SBCS Portal.
The address is: https://access2.ca.gov.
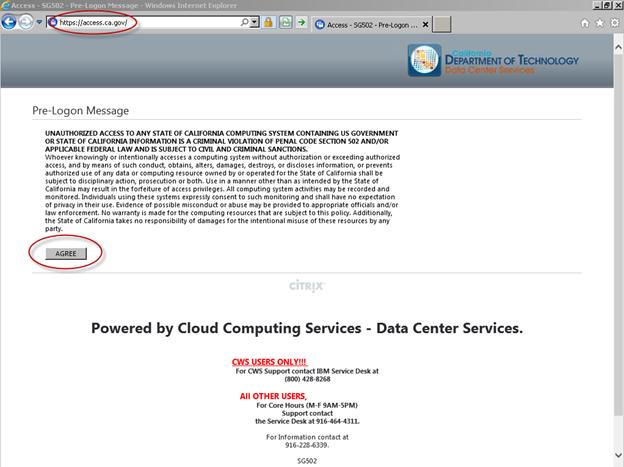
Access Portal:
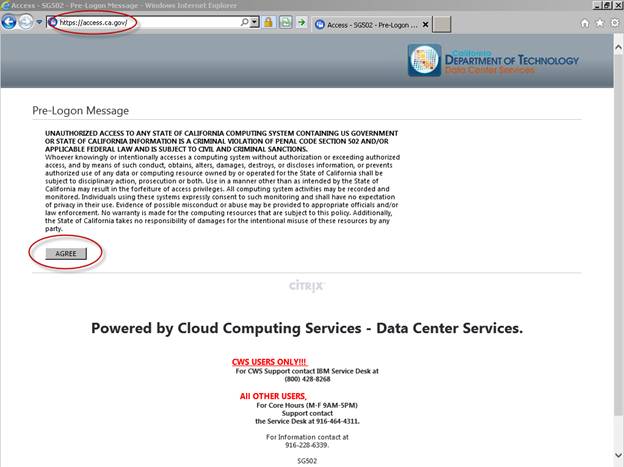
You can click the AGREE Button to navigate to the Next Page.
The next step is to modify the Internet options so that SBCS operates correctly with your
browser.
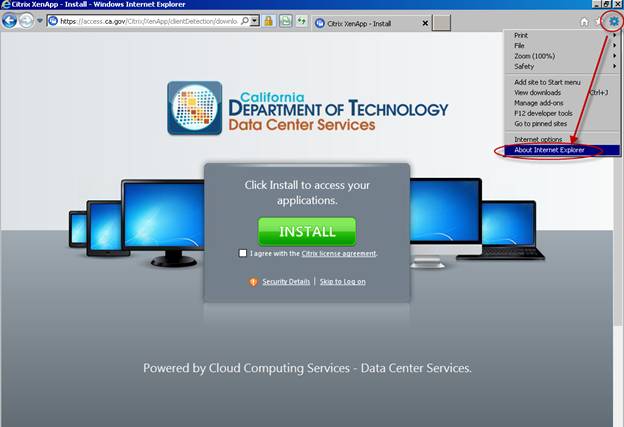
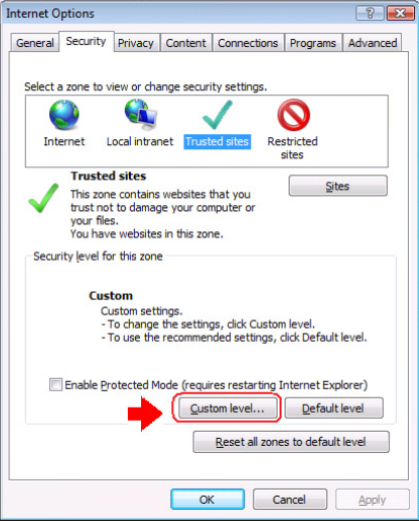
Click on the Tools button in the upper right corner and select Internet options.
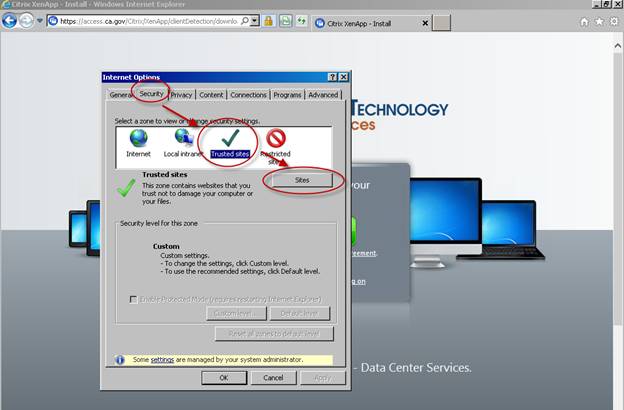
Select the Security, tab, highlight Trusted Sites, and then click on Sites.
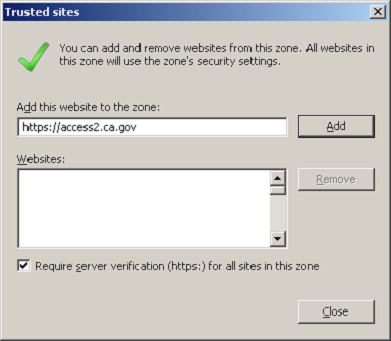
If you are on the website already, the URL or address is already filled in.
If it is not there, type https://access2.ca.gov in the box.
Add the SBCS website to the Trusted Sites by Clicking Add, then click Close.
Now choose Custom level…
Now Change the settings shown below to Enable. All other settings are default settings.
Note: If you have previously changed the settings from the default, you should use the Reset button to obtain Medium (default) settings in the Reset custom settings portion of the screen. Then make the changes below.
Click OK and click Yes to “..Are you sure…”
Then Hit OK to close the Internet Options.
That’s it! Your browser should now be configured to access SBCS.
Close out your browser and open a new one so the settings will be applied.
After you closed out your Internet Explorer Browser, Launch it again. Navigate to the webpage – https://access2.ca.gov.
You may need to Click the AGREE Button again to get the next page.
Downloading and Installing Citrix Client:
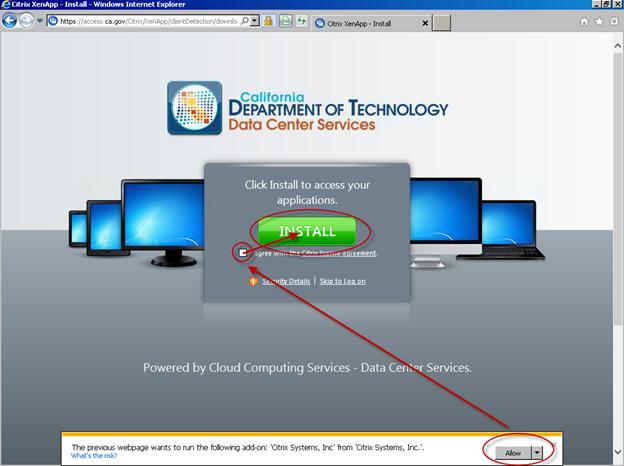
Click “ALLOW”
Check “I AGREE”
Click “INSTALL” to download and install the client.
Please Note: You may have to Download the WebClient if you do not already have it installed on your Personal Device. Work Issued Desktops and Laptops usually have it installed already. In the event you need to download the WebClient, the following has been provided.
Our Secure Gateways [The Portal which you are about to log into] checks to see if you have the WebClient installed. If it doesn’t see it, it will prompt you to download it.
Click on the Prompted Link like in the following Screenshot.
You will need to check the I Agree Box. Then Click the Big Green INSTALL Button.
The Webclient will need to be Downloaded and Run. Click the Run Button.
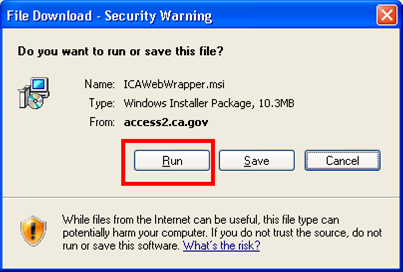
The Download will commence.
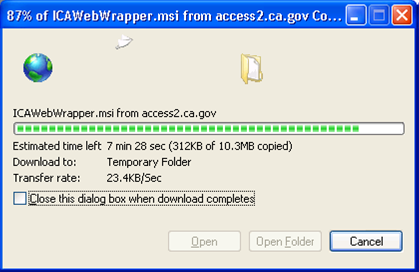
You will need to Click Run again for IE’s Security Warining.
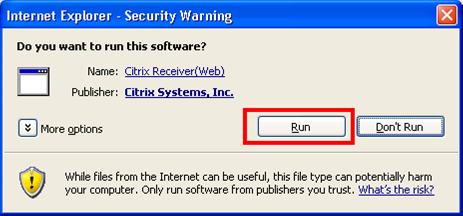
The Progress bar should advance. Let the Install finish.
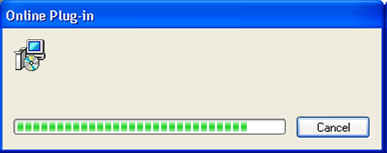
In some cases, depending on your Windows OS or AV, you will be prompted to click on Agree to the EULA, Programs settings and ultimately Finish on the Install program.
When the Client is fully installed, your webpage will change accordingly. See Next Page.
Logging in:
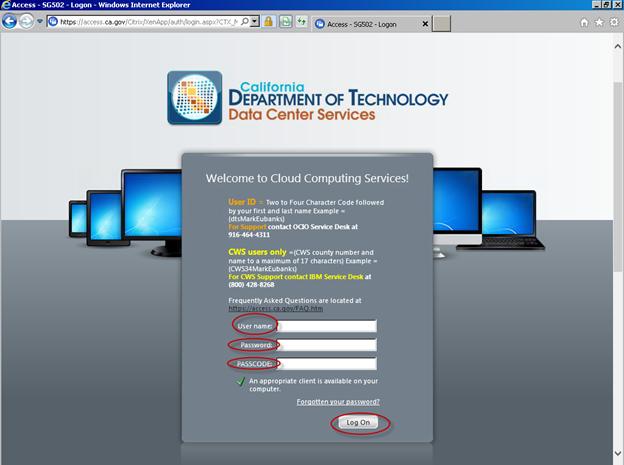
Now you can log into the Secure Gateway [Portal] with your Normal Account/Password that you use to log into your Work Desktop.
The Passcode field requires the Code that is Generated by your Safeword Token Device. It is normally Alpha-Numeric and is 6 digits. If a digit looks like a Number Or a Letter, it is always the Number. eg there are no I’s they are 1’s, no S’s they are 5’s, no G’s they are 6’s, etc. Of the Three fields, only the Password Field is Case-Sensitive.
Upon successful login, you should see all the applications that are published to your account. Now you can launch your Published Applications:
